
You know I love a good chalk paint!
I've spray painted half the items in our house with some form of spray chalk and I'm sure the neighbours think I am completely off my rocker.
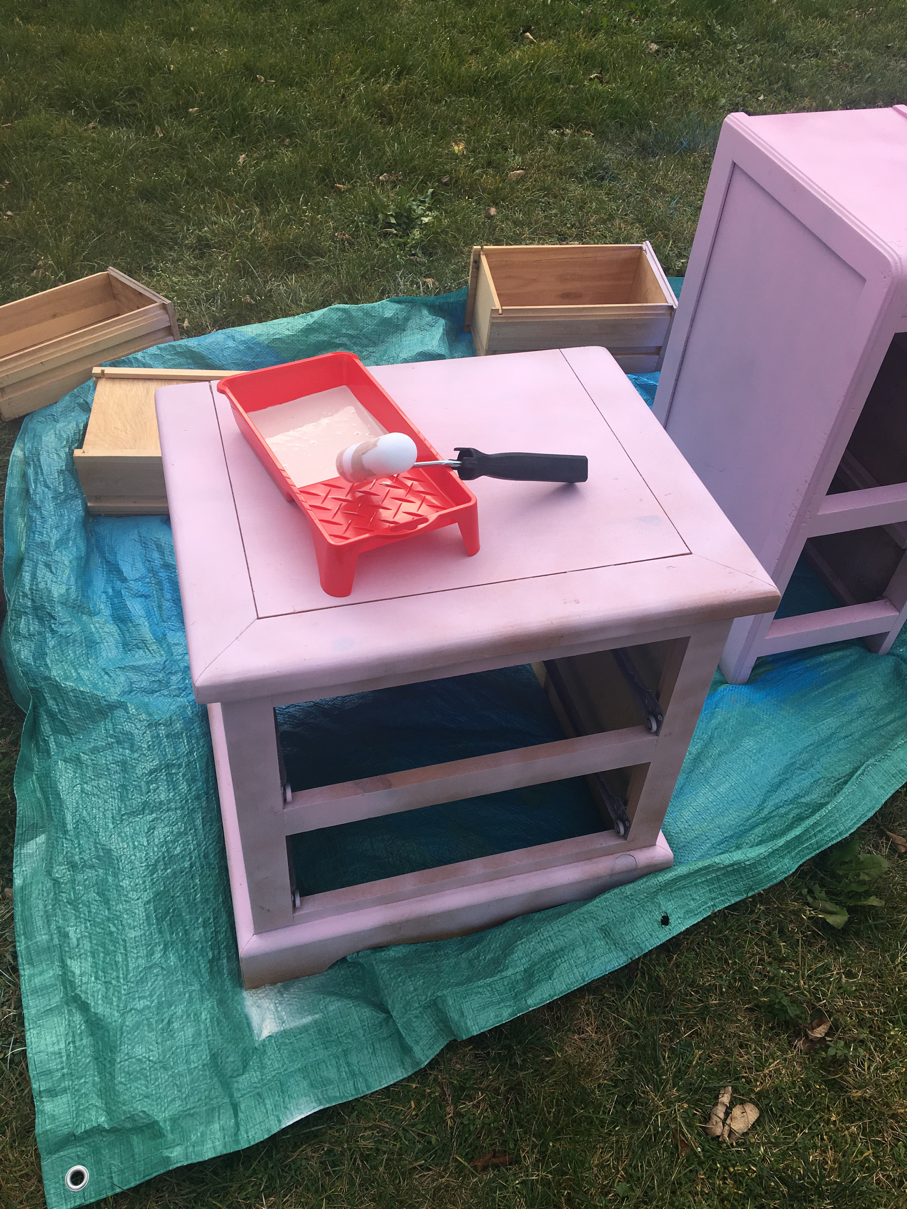
Well this time around I went for the more traditional roll on method and I think it turned out pretty dang gorgeous!
I've spray painted half the items in our house with some form of spray chalk and I'm sure the neighbours think I am completely off my rocker.
Well this time around I went for the more traditional roll on method and I think it turned out pretty dang gorgeous!


I had to dig up an old photo of this beauty because its been a work in progress for approx. 2 years now.
You know how some projects come together real quick and others you couldn't finish to save your life? That's this one. ^ I had the vision but it just wasn't panning out.
I basically went from what I thought was a 75% finished project to scraping it all together and starting anew.
I sanded this guy down a few years ago and I sprayed it with a very bubble gum pink chalk spray paint. It was in the realm but it wasn't exactly what I wanted and I couldn't figure out how to achieve that vision until...
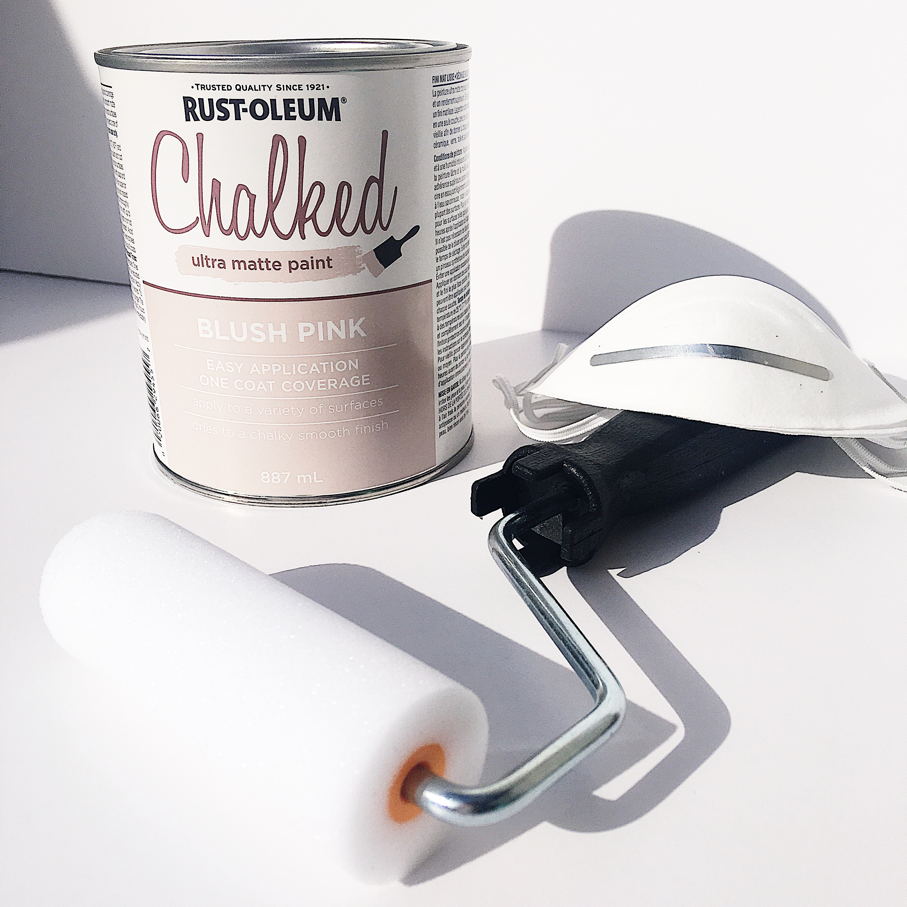

I saw this Blush pink chalk paint sitting on the shelf of my local Kent Building supplies and I knew that would do the trick.
The can says 'one coat' but frankly I wish companies would stop with the cheap reel in tactics.. maybe its one coat, maybe its two.. but lets sell what's really special about it, an ultra matte blush pink chalk paint. swoon!

As you can see I had started both pieces with the bubble gum pink and I questioned if I was making the right decision starting new with the blush but see below for that answer..

100%.
I am so pleased with the final result!
You can see in the photo above on the bottom side panel of the big vanity there is still a bit of bubble gum pink and all the other pieces in the shot are blush. ^
Its a tad bit hard to see in the day light and to the naked eye it may not look like a massive colour change but as someone who is looking at it in person, its like night and day!

The new blush paint actually looked so white when I was painting it over the bubble gum but now that its back in the room it looks super pink!
The old colour must've been like a neon because I can't imagine having pinker than this!

I am just so pleased with the outcome, it matches the walls almost perfectly and that's the exact look I had wanted.
I picked this wall colour on a whim and I love it.
(I honestly can't even tell you the shade. I just picked a chip and said "that'll do!")
I'm still looking to mini makeover the space in the new year but I'm slow on decision making so I will need lots of pins and inspo sent to me until then!
I was thinking to pair it with an emerald green or a Bordeaux shade..
we shall see!

You know those photos above were staged and this is how we really live.

and here's the smaller side table.
Did I mention that I did no prep work to this ^ one?
Nope. Zero. Zlitch.
I am truly the lazy DIY-er and I take my chances.
I could have sanded a tad to get the paint to stick but it honestly went on fine and no skin off my back. (you know because you always end up scratching something with that dang paper!)

I'm super happy with my cozy pillow collection as well.
The three fuzzy ones are from homesense and the smaller front right is Walmart!
Also I picked up the new gold hardware on the vanity from Winners/Homesense and they were such an affordable find! 6/$12
Do you think your bubblegum base coat made it “pinker”
ReplyDeleteDo you think the bubblegum base coat made the end result “pinker”
ReplyDeleteHi thanks for posting thhis
ReplyDeleteGreeat read thank you
ReplyDelete